Tiller Beanie
I was so glad to get the Homegrown Hat Collection released this past weekend. It was a great way to kick off the month, and as I've been working on some of these hats for years (yes, years), I was way past ready to reveal them to you. I want to write some posts about each individual hat to give you some history about its design as well as to talk about some roadblocks that may prevent you from knitting them. I don't want anything to get in the way of that!
Let's start with the Tiller Beanie.
 |
| madelinetosh Tosh Vintage in Earl Grey |
I first got the idea for this hat from cycling hats I kept seeing, like this one and this one, but without the brim. I did a brim on the Orville, so I didn't need to try that again*. I did want to try that three-piece construction, but knitted. I just knew I could do it. It did take some trial and error, though. The first thing I did figure out was that the middle piece just had to have a cable on it. At the time, I was working on the Saddleback and had fallen hard for that big winding cable that you see at the top back of the cardigan. I thought I'd try it for the hat, as it seemed to be the right width for the job. For the side pieces, I just took gauge and did some math and plunged in.
*A whole heck of a lot of my designs are just things I have to try once and then I'm done. Of course there are other things I just can't let go of so easily. Things that haunt me and will not leave me alone, like making cables from 2/2 rib.
 |
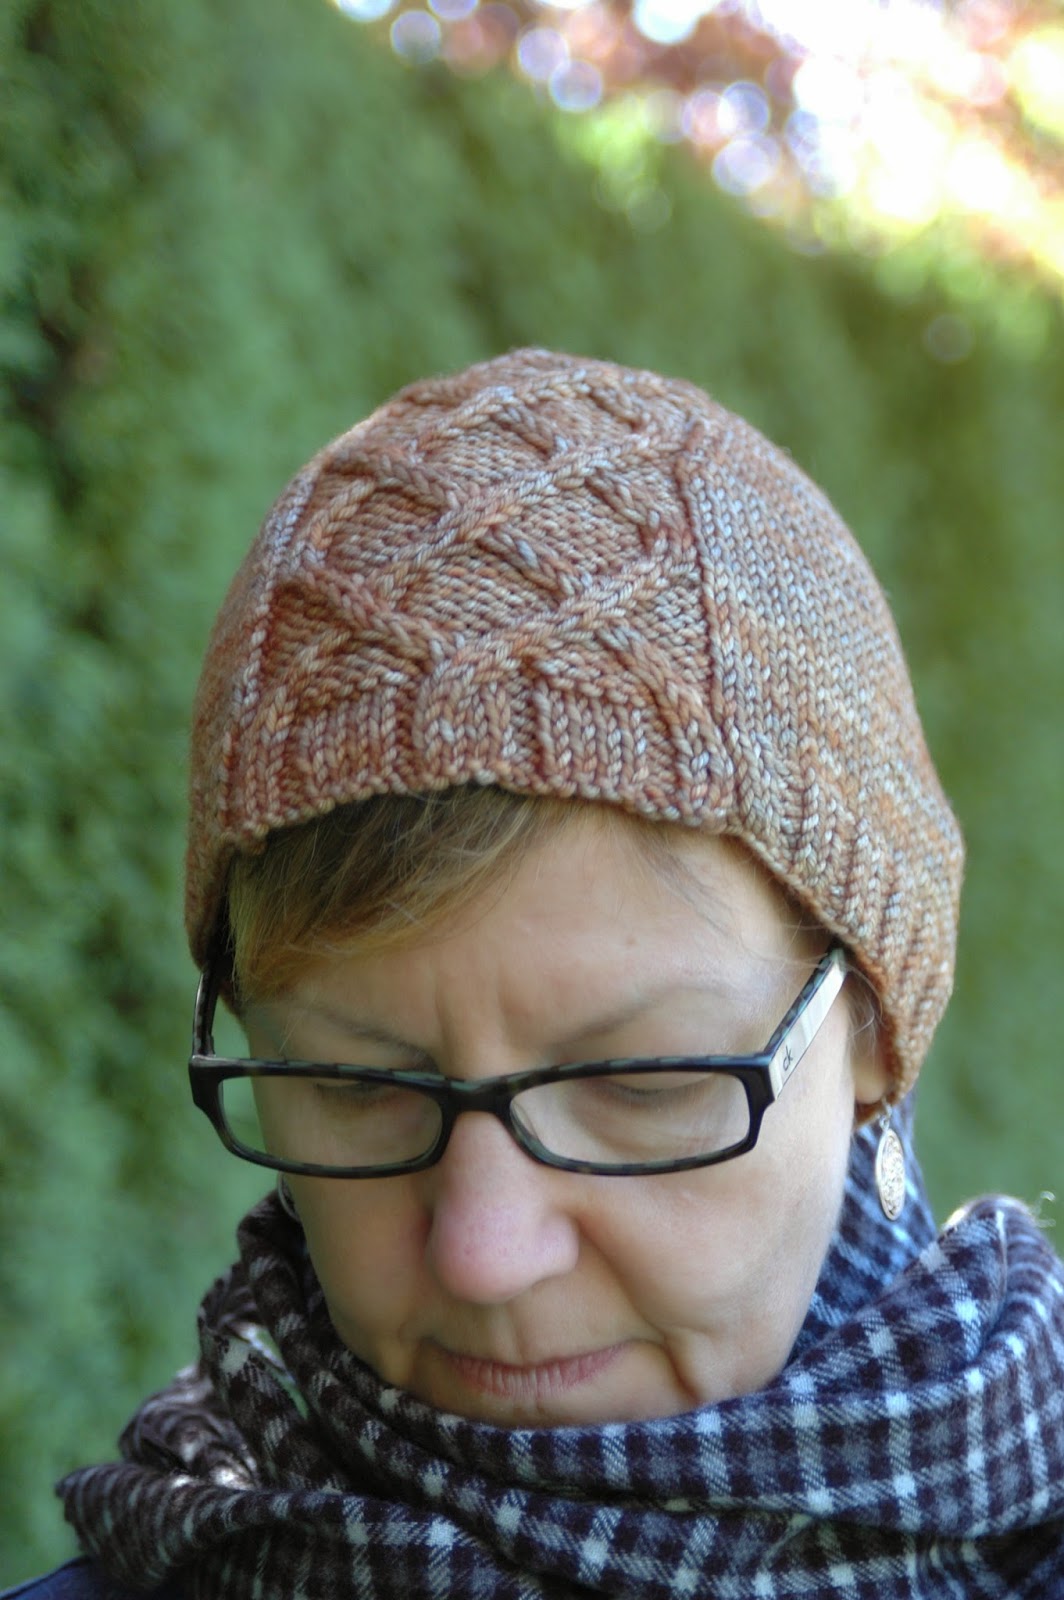
| "See the cable, the lovely cable?" |
The first Tiller I made was with madelinetosh Vintage and it came out very big. Very lovely, but very, very big. That was fine for me, because I have a big noggin, but I needed to figure out smaller sizes, too. It was at about this time that I received some yarns from Bare Naked Wools to try. When I took out the skein of Confection Worsted in the package, I knew it had come to help me with my Tiller sizing quest.
 |
| Top: Tosh Vintage; Bottom, Confection Worsted |
For the medium size, I shortened the cable panel a bit and made the side pieces a little narrower and less tall. It worked!
Why stop there, I thought. Let's see if we can bring this down to toddler size. This would be such a cute kid hat! Unfortunately, I was out of both these lovely yarns, so I turned to one of my favorites, a star in my stash, the lovely Brown Sheep Lamb's Pride Worsted.
 |
| "She told us to stand here with this basket of veg, so here we are." |
I asked Kelli and Melissa to model these for me, and they sweetly complied, even if sometimes I know they wondered about the props. The sage green one on Kelli is the toddler size and the orange one on Melissa is another medium that I whipped up to test the seaming*. Some people can rock any hat. That green one on me would make me look like a Goober.
 |
| Goober Pyle (pic source) |
*Speaking of the seams (that dirty word), I know you're a little anxious about that. "Why would I want to make a hat with seams when I try to avoid seams like the Black Death?" you might be thinking. Well, because you can, and because seaming is good practice and you might learn something new, and well, just try it! It's pretty cool.

Here's how it works. Once the three pieces are knitted, then line up one side piece with the cable panel at their ribbed edges. From the edge up to the beginning of the stitches bound off when the side was complete, you work Invisible Vertical Seam, which we affectionately call the Mattress Stitch. Across the bound-off stitches, you are joining two pieces that were knitted in different directions. The side piece presents itself vertically as you hold them together for seaming, and the cable panel presents horizontally. Once you come to the end of the bound-off stitches along the top of the side piece, return to Mattress Stitch, or Invisible Vertical Seam, all the way back to the rib at the other end.
Here is a page on the Vogue Knitting site with all these seams explained very well.
As I advise in the pattern, this seaming excursion will be less choppy if you wash and block your pieces first. You can access the edges of each piece better that way. Course I did none of that. On any of the hats. Too excited, I was!
But, really, it would go much better for you if you do. Don't let me be a bad influence.
I challenge you to try the Tiller Beanie! You can do it!

Comments